Image may be NSFW.
Clik here to view.
Once you have found your way to the (Splunk.com) website and downloaded your installation file, you can initiate the installation process. At this point you would have received the “Thank You for Downloading” welcome email.
More than just a sales promotion, this email gives you valuable information about the limitations of your free Splunk Enterprise license, as well as links to help you get started quickly, including links to:
- Online Tutorials
- Free live training with Splunkers
- Educational videos
- Etc.
The (MS Windows) Installation
On MS Windows, once your download is complete, you are prompted to Run.
Image may be NSFW.
Clik here to view.
After clicking the button labeled Run, you should receive the “Welcome to the InstallShield…” dialog:
Image may be NSFW.
Clik here to view.
After the welcome, you will need to click on “I accept the terms in the license agreement” option (assuming that you’ve read the agreement and accept the terms) and then click on the button labeled “Next>”.
(Just a note: if you do not accept the terms, you will not be allowed to proceed with the installation because the “Next>” button remains disabled until you actually accept the terms).
Image may be NSFW.
Clik here to view.
Assuming that you’ve “accepted” and clicked next, the installer then informs you that it intends to install the Splunk files to the “default” location of “C:\Program Files\Splunk”.
Obviously, the destination folder you choose is important and dependent on various factors. For this deployment (for the education and evaluation of the power and features of Splunk), we’ll stay with the default, but wherever you install Splunk, it is referred to as $SPLUNK_HOME or %SPLUNK_HOME%.
Image may be NSFW.
Clik here to view.
After clicking on the button labeled “Next>”, the installer will ask you if you’d like to create a shortcut on your MS Windows Start Menu. My preference is to click the checkbox (and then click the button labeled “Install”).
Image may be NSFW.
Clik here to view.
The installation then begins by first performing a validation to confirm that you’ve selected the correct version of Splunk (for the operating system you are installing to) and that everything else seems “in order” for a successful installation.
The installation may take a few minutes, based upon your hardware:
Image may be NSFW.
Clik here to view.
During the installation process, Splunk installs and runs two MS Windows services which are: splunkd and splunkweb. These services install and run (by default) as the local system user (but can be setup to run as another user). The Splunk user is important; the user Splunk Enterprise runs as determines what it can monitor. The Local System user has access to all data on the local machine, but nothing else. A user other than Local System has access to whatever data you want it to, but you must give the user that access prior to installing Splunk.
Image may be NSFW.
Clik here to view.
As the final step, the installer will take care of starting the 2 news services it has added to your machine and then, upon successfully starting them, give you the “success full installation” dialog and ask you if you’d like to launch Splunk within your default web browser:
Image may be NSFW.
Clik here to view.
Once you’ve opened Splunk in your browser, you are ready to sign-in for the first time. Splunk makes that easy by including a link (“First time signing in?”) beneath the username and password:
Image may be NSFW.
Clik here to view.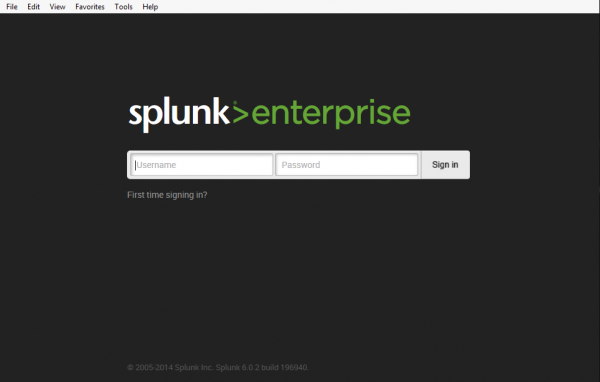
Click the link and Splunk will give you a one-time (after you use it to sign-in it will “force” you to change the password. Hint: write it down) password for the username “admin”.
Image may be NSFW.
Clik here to view.
Upon your first visit, Splunk will display a “What’s new in 6.0” banner. For first timers, I highly recommend you take some time to click through these topics by clicking on the “Lean More” button before proceeding to the Splunk “Home” page.
Image may be NSFW.
Clik here to view.
\
That’s all there is to it! Happy Splunking!